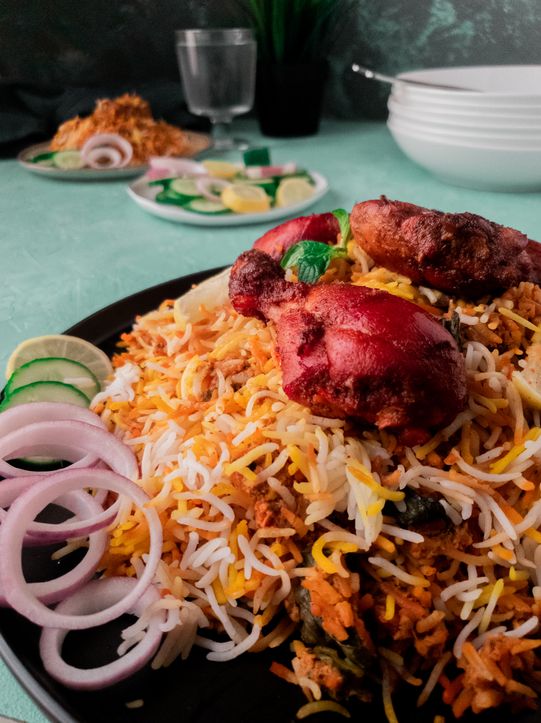
If you are kinky for biryani like me, I also have a quick biryani recipe on the blog. If you are making this recipe for the first time, I will request you to make it as closely as you can, with minimum substitutions. Let’s see how all of it comes together.
Layers of this Biryani
This biryani, like any other biryani has the following components that makes up each layer:
Marinated baked/grilled chicken tikkaA Tikka curry/Qorma base The parboiled basmati rice The garnish and color layer
Making Chicken Tikka
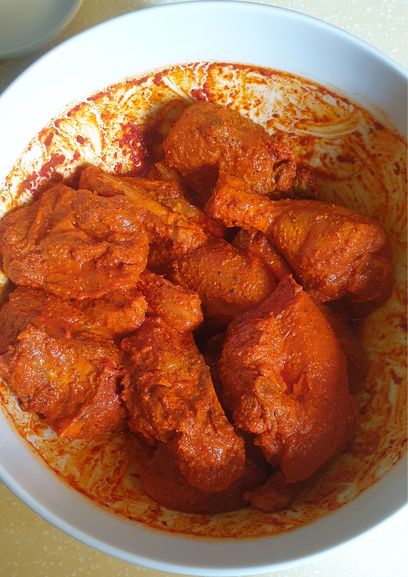
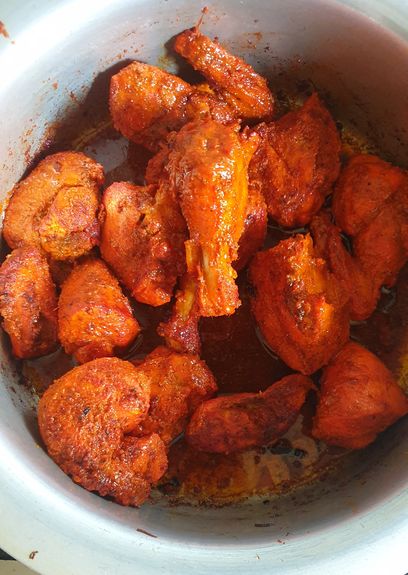
This recipe calls for marinating chicken pieces in Tikka spice mix. I used my homemade tikka spice mix to marinate the chicken. But if you have a packet Tikka mix lying around, you can use that as well. Use the whole packet along with any extra ingredients the packet calls for. You can leave the chicken to marinate for anywhere between 2 to 8 hours. You can also smoke the chicken with a piece of coal at this point or do it later while baking. There are two ways in which you can cook this marinated chicken. You can chose whichever one you prefer:
Method #1 – Baking the chicken
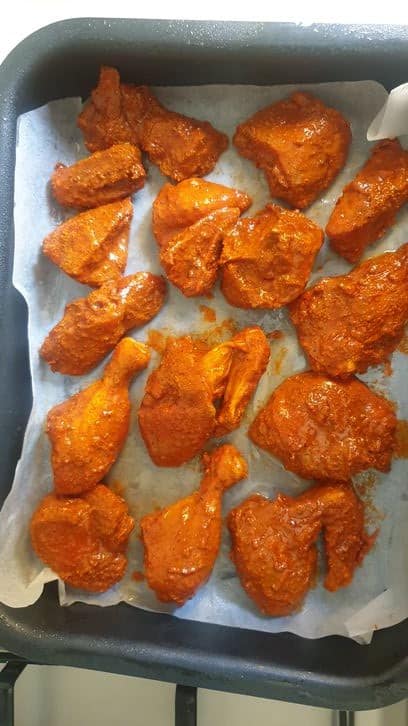
If you opt for this, all you have to do, is simply:
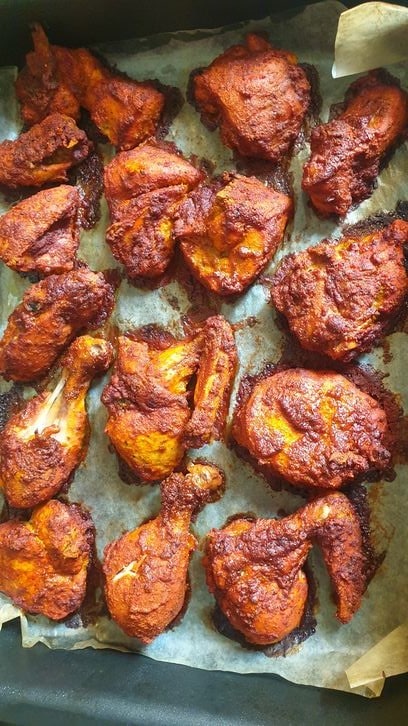
Line a baking tray with parchment paper, grease it,Place your chicken pieces, spray on top of the chickenAnd bake, ending with the gas griller for the char.
This method is great if you are trying to watch your calories, plus also it’ll save you time. Your chicken can be baking in the oven and you can be working on the qorma on stove simultaneously. And be done with both at once.
Method #2 – Pan frying or grilling the chicken
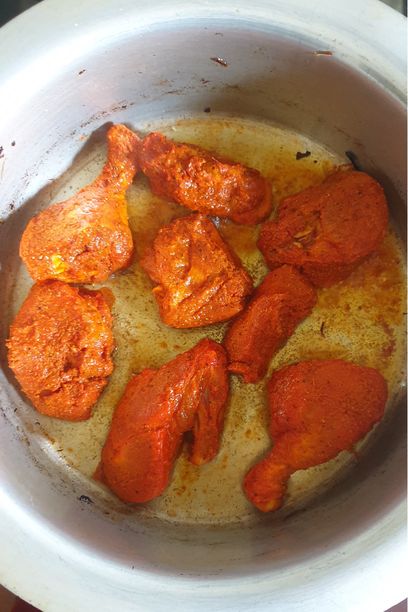
If you don’t have a gas oven or don’t feel like heating it up, you can always opt for the old school way of pan frying the chicken or grilling it. But the chicken sometimes doesn’t cook all the way through this way, so you’ll have to toss it in the qorma to cook for 10 mins as well.
Make the Tikka Qorma
The masala in this biryani is slightly different to regular biryanis. It is mostly based on onions and yogurt, with only 1 tomato and all ingredients are chosen very deliberately to reach a certain flavor profile.
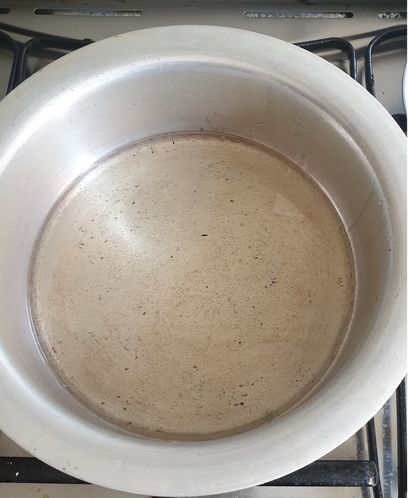
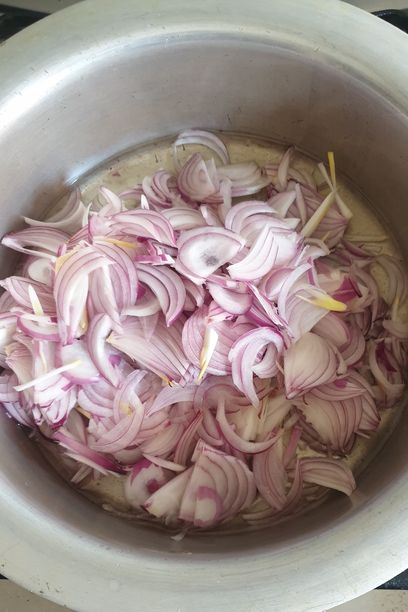
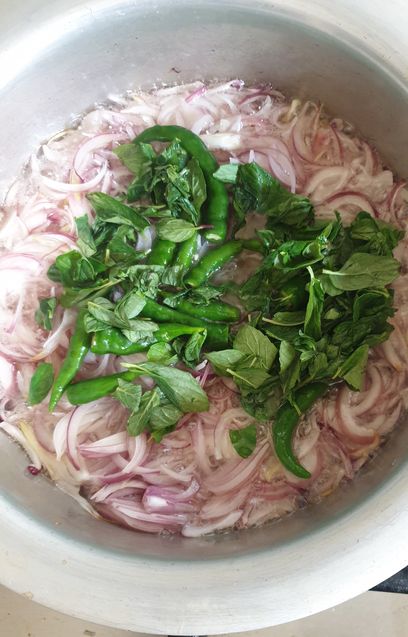
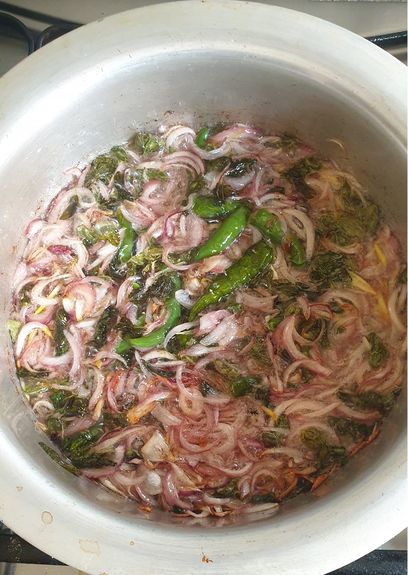
Add oil in a potAdd sliced onionsAdd mint leaves and green chilies
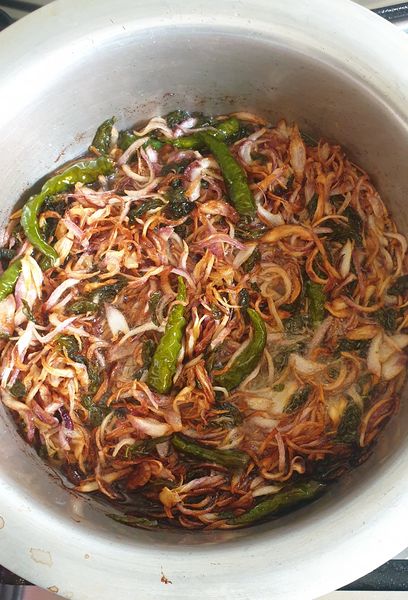
Fry onions, green chilies and mint leavesLet it turn crispy golden and remove 1 cup for garnish
Tip: ALWAYS turn off flame right BEFORE you reach the perfect golden color. The oil is pretty hot at this point so if you wait till your onions get to the right color and THEN turn off the flame, it’ll most probably take your onions to a much more dark shade, and possibly burn them. Once you turn off the flame, remove roughly about a cup of the fried onions to use for garnish later. Now the pot has roughly about 1 1/2 cup of oil along with the fried onions in it. I strain most of the oil out, leaving roughly 4 to 6 tbsp behind. Any qorma only needs enough oil to brown the onions. If that’s done, you don’t need anymore. If you’ve fried your onions at the right temperature, you will notice that MOST of the oil is out, almost as much as you had put in.
Adding Spices
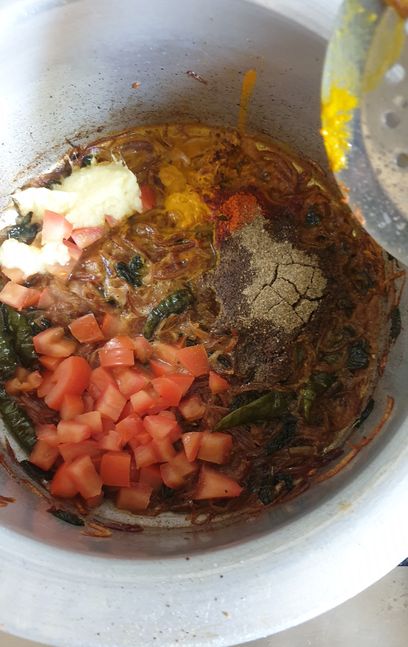
Once you’ve removed all the oil, add 1/2 cup of water and turn the flame back on again. Now we are going to add allllll the spices, garlic ginger paste, salt and chopped tomatoes. At this point, show some saute action (aka Bhunna). Saute at medium flame long enough to see oil separate on the side. This step helps in tempering the spices.
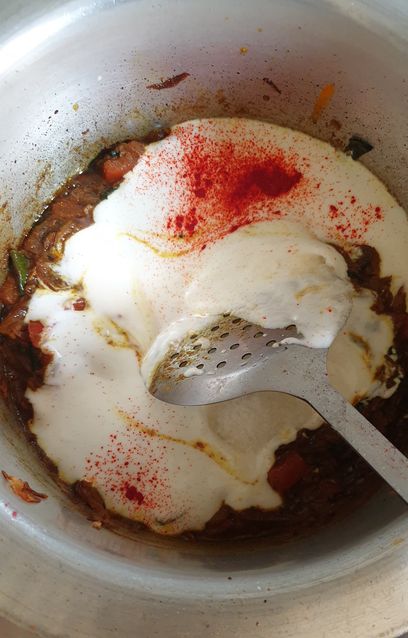
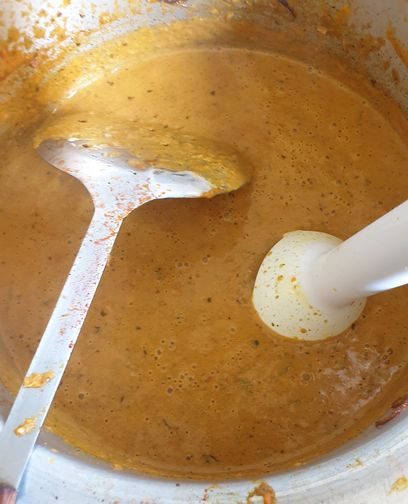
Go ahead and add another 1/2 cup of water, beaten yogurt and food color. Mix well and cover the lid for 10 mins at medium flame. When you see slight oil seperation on the sides, use a hand blender/immersion blender to blend the Qorma. This step will give you a more smooth mix and is a very common technique used by lots of Biryani places in Pakistan. After the immersion blender, give it another 3 mins for the oil to come up again. Once it does, turn off the flame. Your qorma base is ready. NOTE: If you opted for pan frying the chicken instead of baking it, add it in the qorma masala when you add in the yogurt to let the chicken cook for 10 mins as well
Soaking and Boiling the Rice
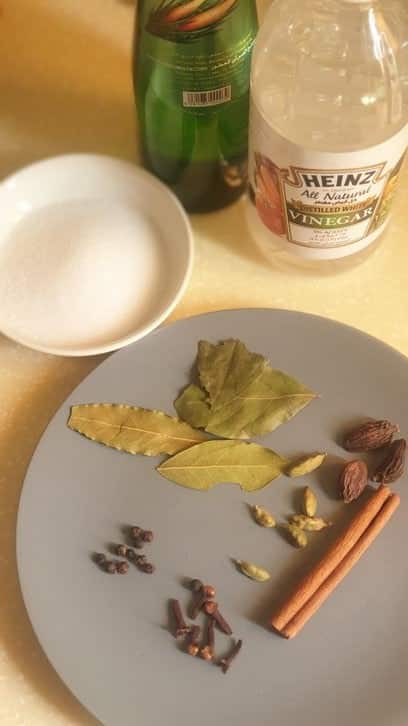
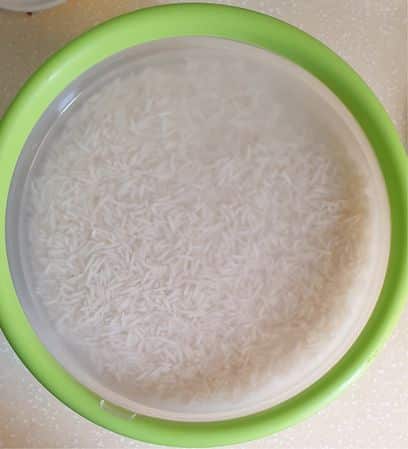
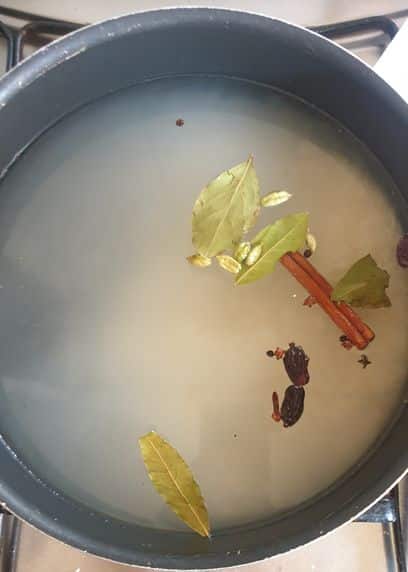
Whole spicesSoaked riceBoiling rice
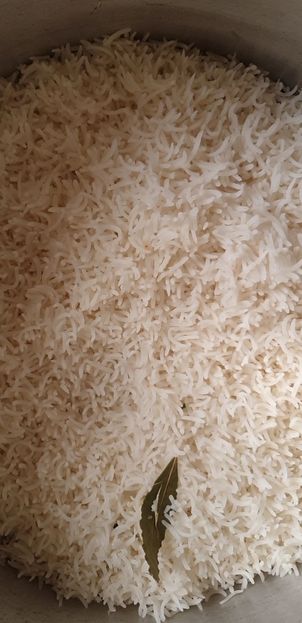
For any biryani use long grain aged Basmati rice. They hold their shape well and don’t mush together.I soak rice for about 20 to 30 mins (which is the standard time for most rice brands)While boiling rice, chuck in some whole spices, salt, vinegar and kewra water as well. The vinegar helps the rice to have a really nice vibrant white color and stabilizes its shape too. Par-boil the rice for roughly 5 mins. Check a grain to see if it breaks in the center with your hands easily. That’s your cue to drain the water from the rice and set aside.
Garnish for the Biryani
After your tikka, qorma, and rice are ready, lets look into the garnish. The garnish I’ve selected for this biryani are things that compliment the Tikka flavor profile. This particular biryani uses:
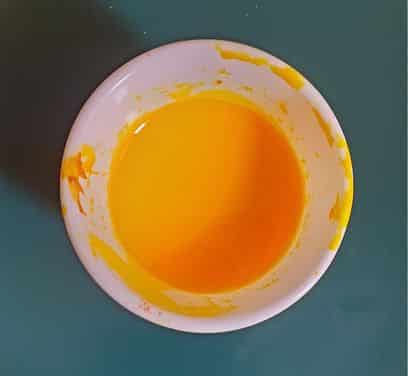
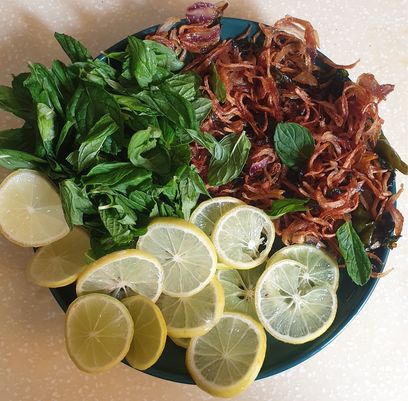
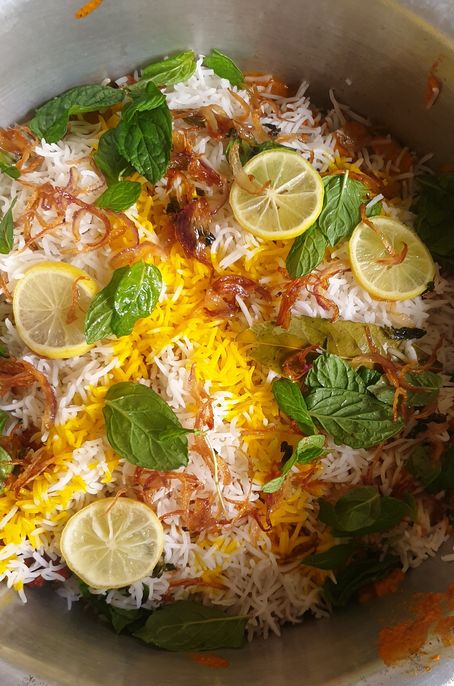
Fresh mint leaves1 cup Fried onions (kept aside while making qorma)Lemon slices and lemon juice- To add a little sournessA zesty yellow food color mixed with milk. The yellow color compliments the reddish orange hue of the Tikka and Qorma, which is why we opted for this instead of the standard orange color for biryani.You can also add a few drop of biryani essence in the color (optional)
Layering the Biryani
My biryani layering sequence looks something like this:
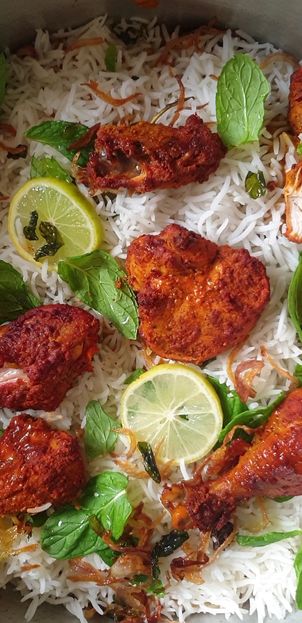
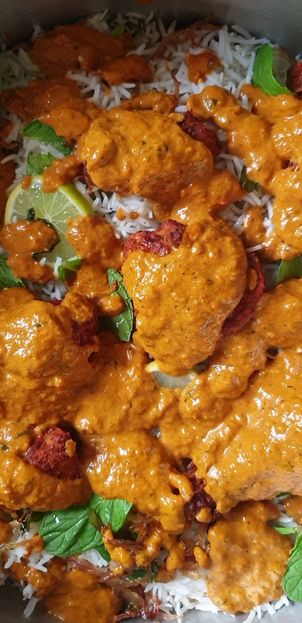
First a layer of 1/3 of the rice. Then goes in the garnishNext is a layer of 1/2 of the chicken piecesI also sprinkle some freshly squeezed lemon juice on the chicken pieces. Then 1/2 of the qorma masala on top of it. Repeat once more.Top layer with rice, garnish and food color in it.
Rice layergarnish and chicken layerQorma layerTop view of the biryani layers.
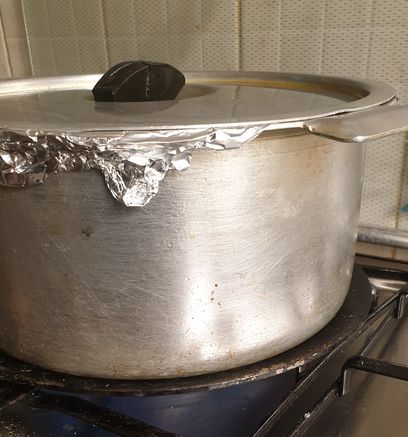
Cover the pot with a layer of aluminum foil and then place your lid on top of it. This helps in sealing in the steam that builds up in the pot. Place a griddle or tava below the pot on the flame. Standard biryani cooking time is 8 mins on medium high flame and another 10 mins on medium low flame. Tip: Always use a pot size (pateeli) that can hold all your rice and chicken and still has about 1/4 empty space. This helps in mixing the biryani and also creates better steam cooking environment. You can lift the lid slightly to check if you see any steam build up in the pot, this will ensure that your biryani is cooked. Ideally, let your biryani rest for another 10 mins before dishing it out.
Alternates, Fixes and Remixes
How to make biryani less spicy?
This biryani is definitely spicy! “chatpati” in Pakistani terms. If you can’t handle spicy food, you can reduce the level of green chilies in the qorma by half and reduce the red chili powder by half as well. Note: The green chilies I use were medium hot, so if the green chilies you are using are very high in heat, (usually the really small green ones are hottest) then you need to reduce them by half anyways.
What to do with the left over oil?
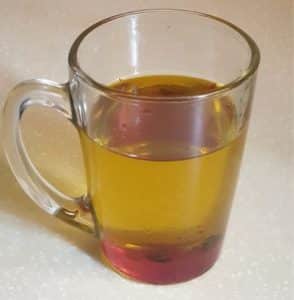
The oil that’s left over from frying the onions, chilies and mint leaves is going to be super aromatic and infused with great flavor. You can use this oil practically in all kinds of savory cooking, greasing, frying etc.
What if I want to add potatoes?
Potatoes have a tendency to absorb spices and salt from gravies. If you plan to add potatoes in this recipe, you will have to increase both salt and spice, plus add a tomato as well. You will also have to add another 250 gm of rice to incorporate the added potato.
