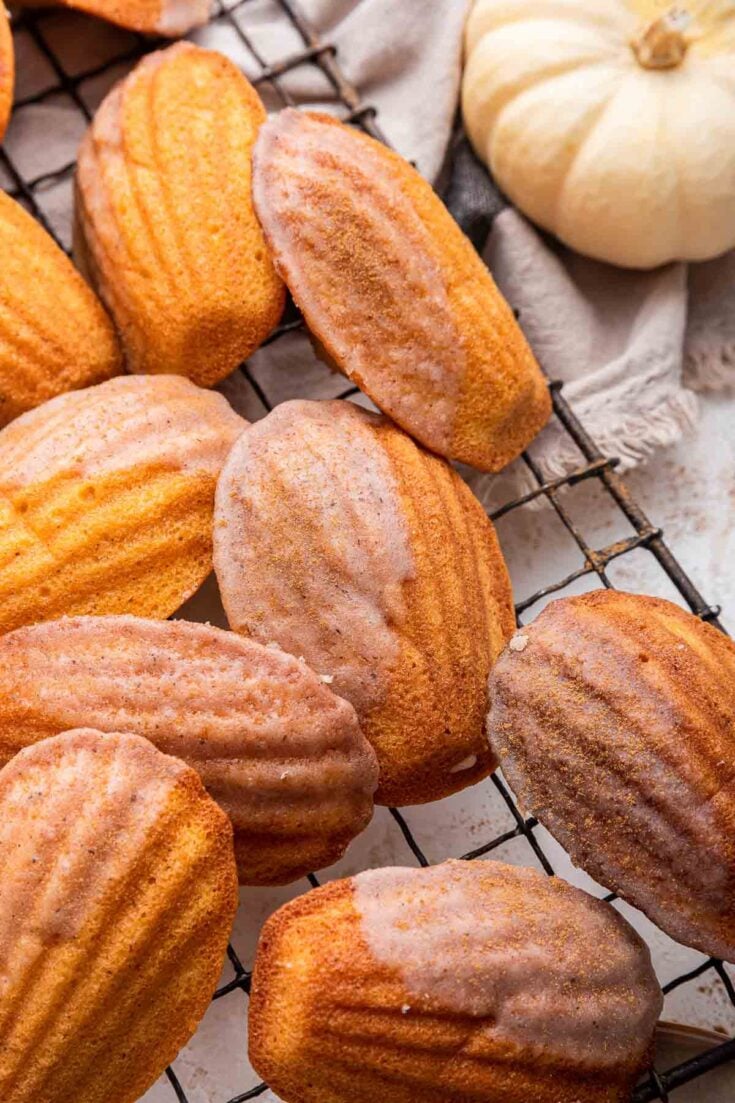
First, I will tell you that this recipe is a version of David Lebovitz’ recipe that he includes in his cookbook, My Paris Kitchen. I have loved David for years, and have followed his path from California to Paris. The man knows desserts and pastry better than anyone. I will not re-print his exact recipe from his book (because that is illegal), but my recipe has enough variation in it to share. More than anything, David taught me about the two rest phases of madeleines, and also about how important honey is for the batter. Now, I’m going to step on my soap box and preach about exactly what a madeleine cookie is, what it should be, and what to do if your cookies miss the mark. (In short: if they miss the mark, put them in the compost bin; sorry). If you’ve ever had a packaged madeleine, I’m so sorry. I know that it was way too soft, it lacked a bump in the middle, and in short, it was very bad. It was closer to a mini muffin than a madeleine. I literally cannot even believe madeleines are sold wrapped up in plastic packaging, because this destroys their most valuable asset: the crisp butter crust! A madeleine is not a madeleine without that fresh-from-the-oven crisp butter crust. When you bite into it, you should hear it. It should not sound or look like you’re biting into a soft muffin. Okay, the next thing: your madeleines need definitive humps in the middle. A madeleine without a bump in the middle makes me sad. I have heard it has more to do with humidity than the recipe, but I have made madeleines in all 5 states that I have lived in over the years, and mine always have big bumps. The baking powder in the batter causes it. The most important thing with this recipe is the resting periods. Proper resting of the batter makes sure the air bubbles created by the beaten eggs and baking powder are evenly distributed throughout the batter. When madeleine batter is not rested, the final cookies contain pock-marks and air bubbles on the surface.
How to Make Pumpkin Madeleines
This recipe requires almost an entire afternoon, however, most of it is resting time. I make these on laundry day, when I’m going to be around the house and can hear the kitchen timer go off.
Equipment Needed:
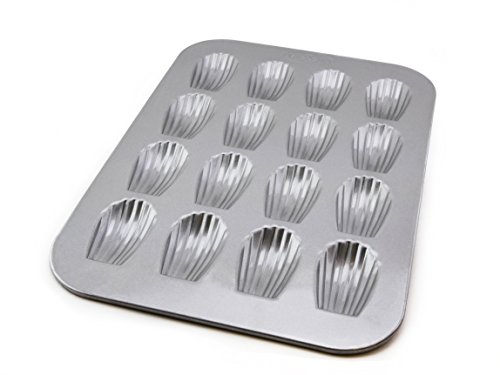
Stand Mixer - If you don’t have a kitchen stand mixer, you can use a hand-mixer instead. Kitchen Timer - This recipe has two one-hour rest periods, so a loud timer is handy! Madeleine Pan - My pan has 16 spaces for cookies, but you can also use 2 12-space pans, if that’s all you have. If you only have 1 12-space pan, bake the first 12 cookies, wash and cool the pan, and then use it to bake the remaining cookies. I don’t recommend the silicone pans, because the edges of the shells aren’t as clearly defined after baking. Kitchen Scale - I prefer to bake this recipe entirely by weight, mainly to save on dishes. I give instructions for cups/spoons and weight both, however.
The Ingredients
Honestly, the ingredients are not very different from making my pumpkin chocolate chip cookies or my pumpkin donut holes, but the method is extremely different. So, if you have all of these ingredients but area looking for something easier, start there.
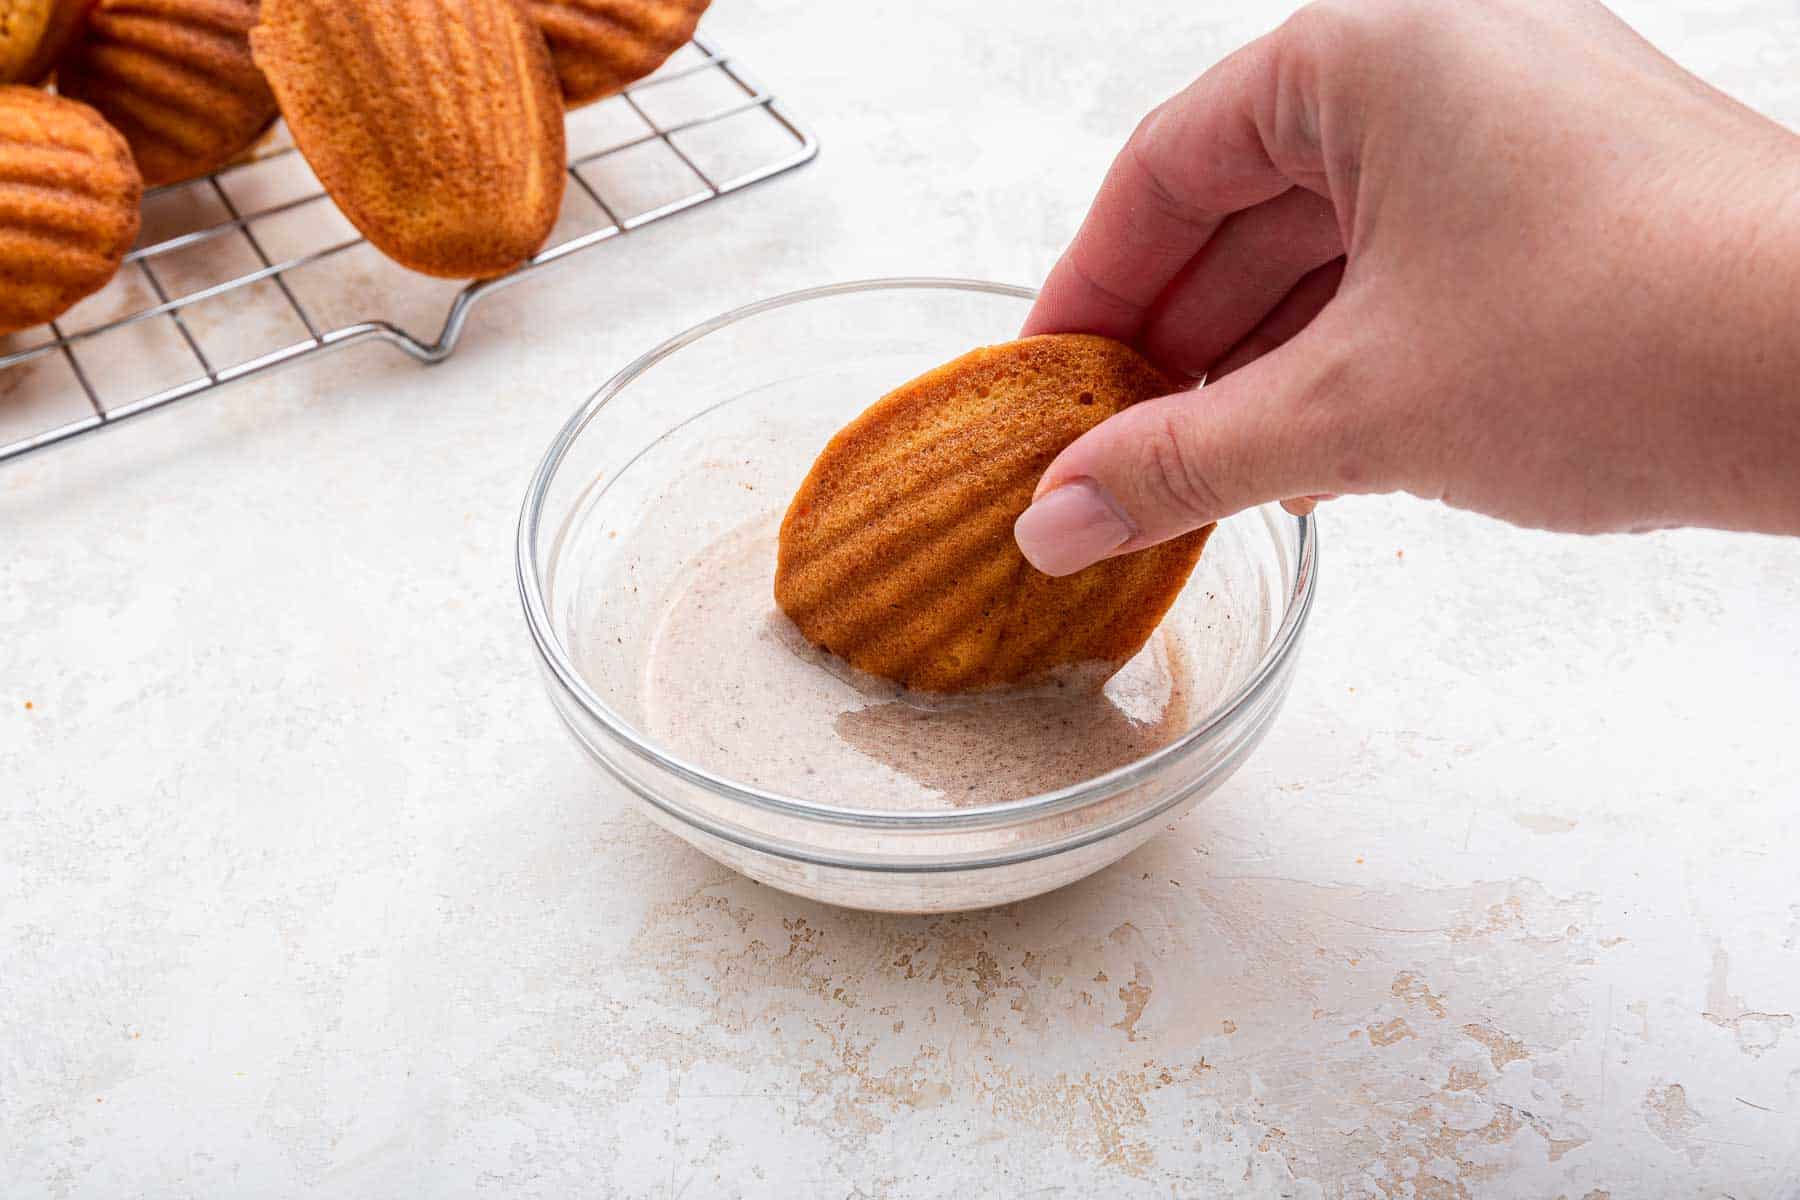
Eggs. We need two large eggs, at room temperature. You can quickly bring eggs to room temperature by covering them in hot water for 5 minutes. Drain, wipe dry, and crack and use them in your recipe. Sugar. We need ½ cup, or 100 grams, of granulated white sugar. Pumpkin. We need American canned pumpkin puree, not pumpkin pie filling. I’m partial to the Libby’s brand, because it is a dark, rich orange color. I have found other canned pumpkin products to be yellow (and not made of entirely pumpkin). Flour. All-purpose flour that has been fluffed, scooped into a measuring cup, and leveled off with a knife. Or, measure out 140 grams of flour using your scale. Pumpkin Pie Spice. One full teaspoon of pumpkin pie spice, which is a mix of cinnamon, nutmeg, ginger, cloves and allspice. I have a recipe to make your own blend in my homemade pumpkin spice latte recipe. Baking Powder. One and a half teaspoons of baking powder. Salt. One-half teaspoon of fine sea salt, for balancing the flavors. Vanilla. I always bake with real, pure vanilla extract; ¾ teaspoon here. Butter. We need 6 tablespoons (or 3 ounces ) of unsalted butter for the batter, plus an extra 1-2 tablespoons for melting and brushing on the pan before baking. Honey. One tablespoon of honey is a trick that I learned from David that makes for a smoother, non-bubbly batter. I also think the high fructose content in honey is responsible for the big hump somehow, but I can’t prove it. Optional Glaze: If you want to make an optional pumpkin spice glaze for these cookies, combine ½ cup of powdered sugar with a splash of milk or cream and a ¼ teaspoon of pumpkin spice spice.
The Instructions
Do you see the significant bump in the center of the cookies below? Remove the pan from the oven, and let sit for 30 seconds. Then, immediately invert the pan onto a cooling rack and all of the madeleines should very easily come out. Let the cookies cool completely on the cooling rack. Yes, 1 cup of flour is typically 120 grams for my baking recipes. However, because I adapted this from a French recipe, 1 cup is 140 grams here. I strongly recommend baking this recipe using a scale. These cookies are best the same day they’re made, and absolutely best when eaten warm. Overtime, the crisp edges soften. You can reheat them gently in the oven on low to re-crisp the outsides.
Madeleine Pan, 16-Well