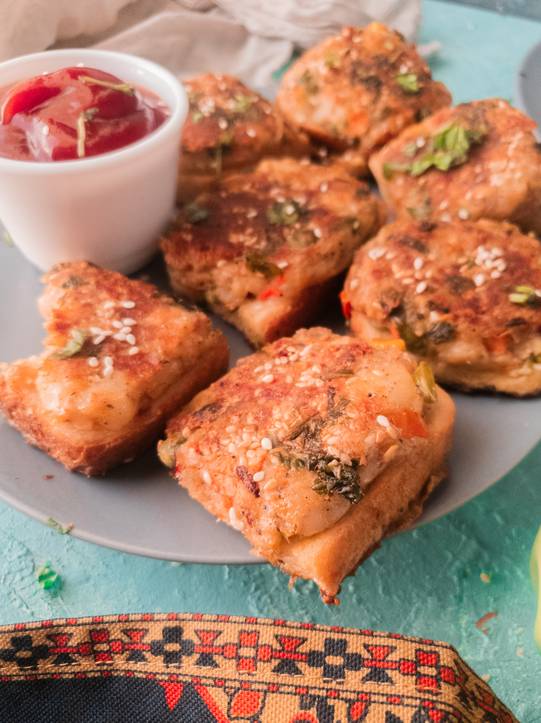
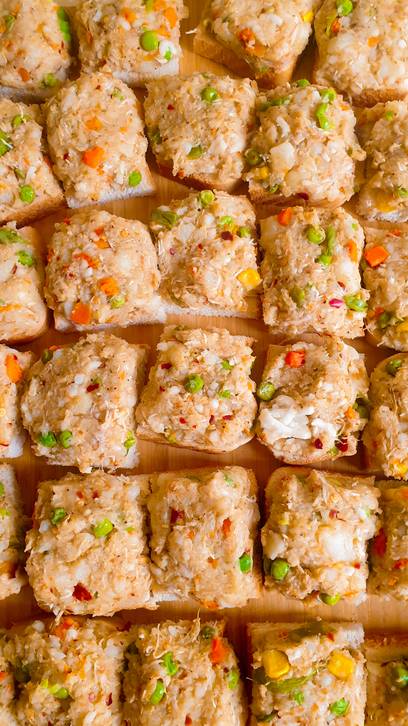
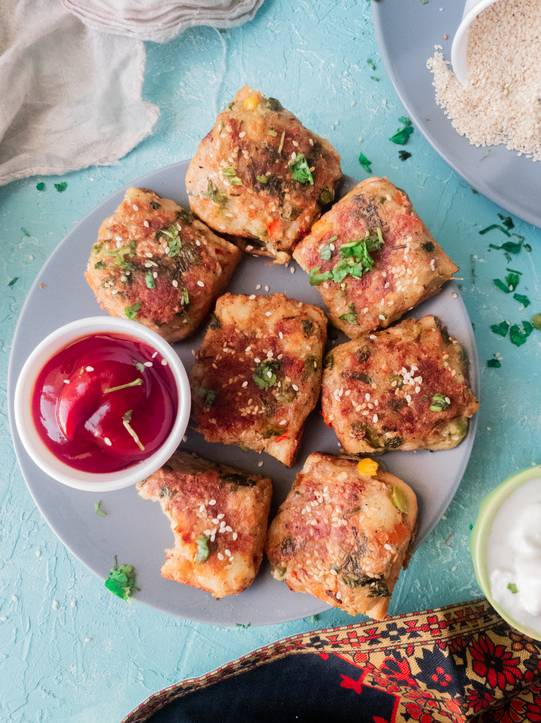
This is a Pakistani/Indian potato and bread snack which was originally made by cutting bread into circles with a cutter, which was then slathered with a spicy potato filling, and deep fried! It looked like tiny circles of gold, and hence some one decided to call it just that! Gold coins is something that we have been eating since I was a kid and I first saw Naheed Ansari make it on a random cooking show. If you don’t know Naheed Ansari, she is a renowned Pakistani chef/DIY expert who has some kickass dishes to her name. Originally this snack was deep fried but honestly since it has bread, the amount of oil it absorbs is INSANE! So quite recently I have altered the recipe quite a bit, to my liking and it still tastes amazing! Also, whenever I host dinners or brunches or Iftars etc, I always like to have at-least ONE potato based side. Because lets face it, potatoes are loved by All and they are super budget friendly too! Some of my all time favorite potato based sides are:
Of-course this bread snack!Fried potato cakes with spinach and cheeseDesi batata haraPotato veggie sticks.
Steps to make gold coin aka Potato bread snack
So this snack has 3 main components,
A potato fillingA bread baseAn egg coat with sesame seeds and coriander
Making the potato Filling
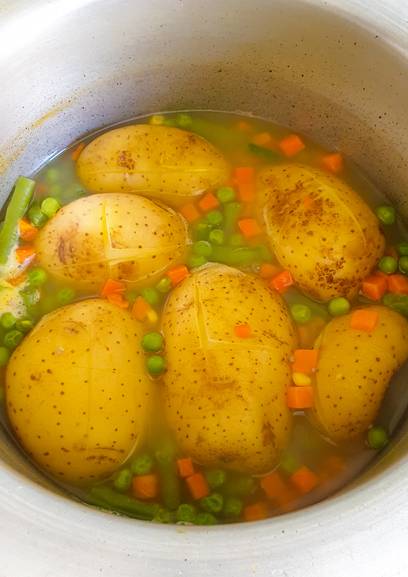
Step 1: Boiling Vegetables
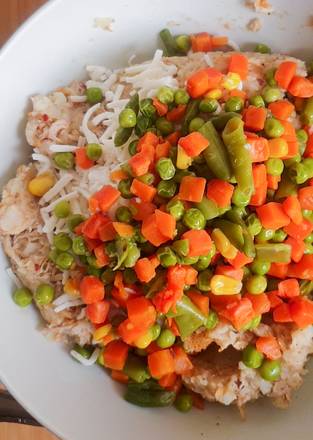
First up, you boil some potatoes and vegetables of your liking in water with a little bit of salt added to it. I used the frozen vegetable mix which has corns, peas, some beans and carrots. Plus the size of the cubes that the frozen veggies have is ideal for this snack. So that’s another bonus. Personally, peas, carrots and corns go perfect with this recipe. You are welcome to try any veggie mix that you like, just make sure its low on water content. Medium whole Potatoes take roughly somewhere between 20 to 30 mins to boil all the way through. So rather than using a different pot for my other veggies, I just throw them in the same pot in the last 10 mins of the potato boil. (smart eh?) Once your potatoes and veggies are boiled, drain them immediately. Don’t let them sit in the water to cool down. Let the veggies and potato air dry. This will cause all the extra moisture to evaporate and give you a nice dry filling.
Step 2: Making the filling
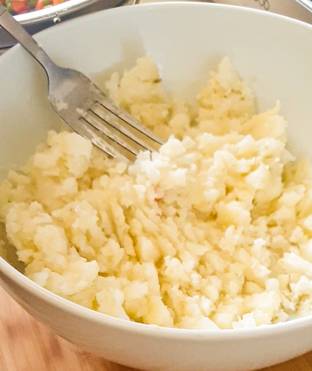
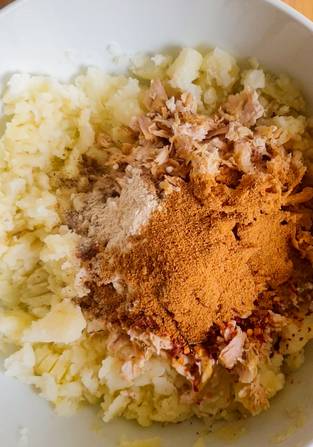
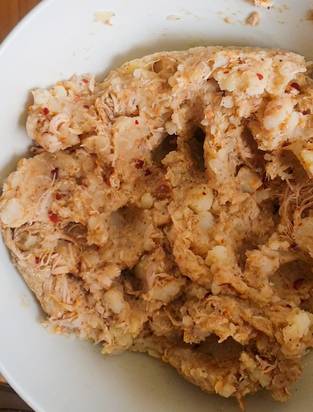
So eventually when the potatoes have cooled down, peal them and mash them in a bowl. The potato filling has the following components that you are going to chuck in 1 by 1:
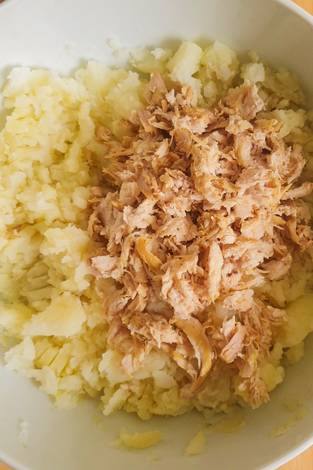
Shredded chickenBoiled vegetablesBoiled potatoesSpicesCheese (optional)
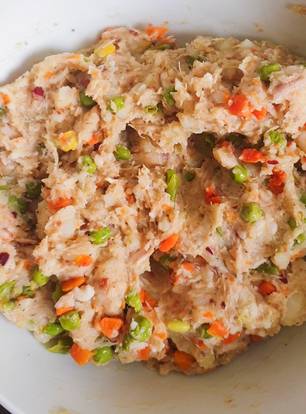
I used some left over chicken from my Chicken salan I made the other day. I washed it, shredded it and used it. But you can make a fresh batch of chicken to use for this recipe. A simple salt, pepper and garlic in water should be enough seasoning for the chicken. Feel free to skip the chicken altogether if you are in the mood of making a Vegetarian Appetizer. I KNOW this recipe is kid friendly, but I made it spicy anyways! lol sorry! ok go light on the chili flakes if you are spice sensitive or making it for kids. The boiled vegetables are generally very tender, so I tend to mix the spices with chicken and potatoes first and then add vegetables later. Lastly, I added boiled veggies and cheese. Honestly the flavor of the mozzarella cheese didn’t really come through and it kinda got lost almost. I would suggest to use a stronger cheese like emmental if you do plan on using it, or just skip it altogether.
Assembling filling and bread
Like I mentioned earlier, this recipe originally had bread cut in circles and then filled. Me being me (aka lazy), I simply cut the bread into 4 squares and used that instead. To assemble, take a tablespoon of the filling and put it on the bread square and press it down evenly with your fingers. That’s pretty much it! And don’t worry, it WILL stick to the bread and won’t fall off. This quantity of filling gave me about 8 slices of bread cut in 4s so that 32 pieces.
Egg wash and pan frying
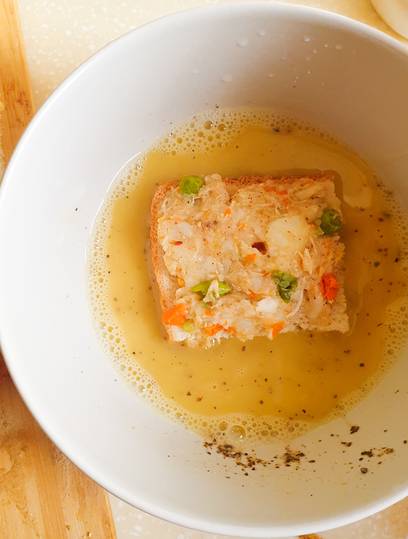
Once you are done with the assembling, move on to the final step. Egg coating and frying. Traditionally this recipe calls for deep frying the potato bread duo. But dude!!! the bread literally soaks up so much oil its insane!! and too heavy to eat honestly! I tried alternate cooking methods to make this and guess what! literally ALL OF them work! With no compromise on taste whatsoever
Pan frying (with 2 3 tbsp of oil)Air fryingBaking – at 200 C or 400 F. Takes about 20 mins.
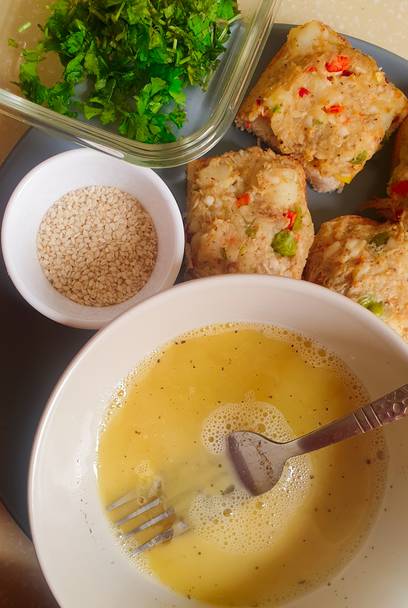
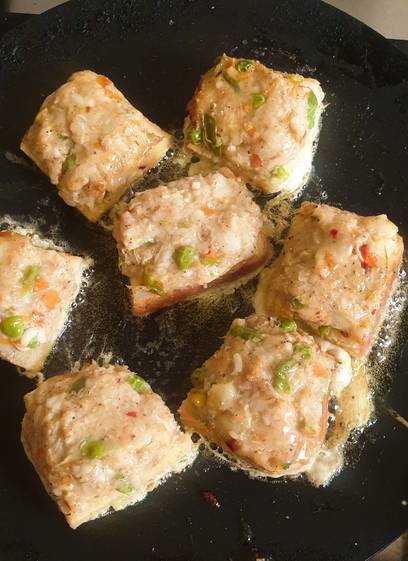
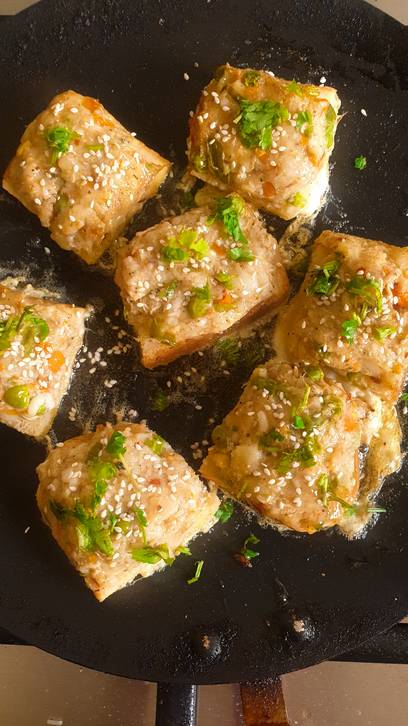
I added salt and pepper to the egg wash for some added taste and a little water to thin it out since the bread absorbs the egg wash too much. Put a frying pan on medium heat with a little bit of oil (about 3 to 4 tbsp). And start placing your bread face up on it. Sprinkle some sesame seeds and chopped coriander on the top while its still raw.
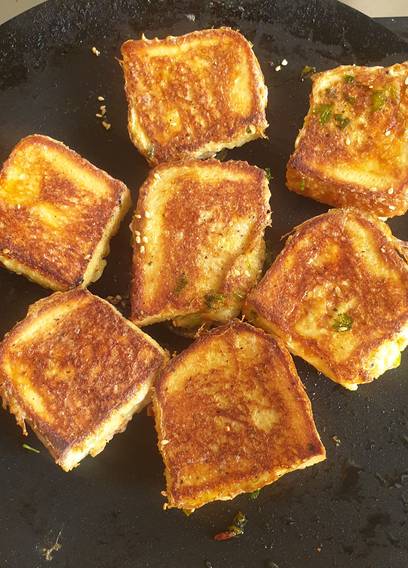
Let the bread cook for roughly 5 mins or until its nice golden brown from the bottom. Flip it over and cook for another 6 to 7 mins. You don’t need to add any extra oil when you flip your bread over. Serve hot with a nice side of ketchup, or green chutney or mayo!
Gold coin recipe – Alternate, Fixes and remixes
Of course you can remix this recipe anyway you want! Its essentially just bread with potato toppings. So by all means feel free to play around with the veggies you use and the spices you put in.You can double the quantity of chicken if you want more in your appetizer. You can bake, air fry or deep fry these gold coins.Try different shapes and sizes to give it a fun spin.Reduce the chili level to make it more kid-friendlySneak in some veggies that your kids don’t eat otherwise.If you have accidentally added too much salt in the filling, skip the salt in the egg-wash.
Preparing gold coins in advance
You can make assemble these gold coins a day before and keep in the fridge. Do the egg wash when you are ready to eat.You can make these delicious appetizers way before you need to use them. Assemble the potato filling with bread and lay them out on a tray. Put the tray in the freezer and freeze for about 1 hour. Once you have solid frozen squares, transfer them into a zip-lock bag and toss them back in the freezer. Whenever you want to make some, take them out, do the egg wash and pan fry. No need to thaw them in advance. They can survive in the freezer for up to 50 days
Low Oil Gold Coin Recipe (Potato and Bread snack squares)
