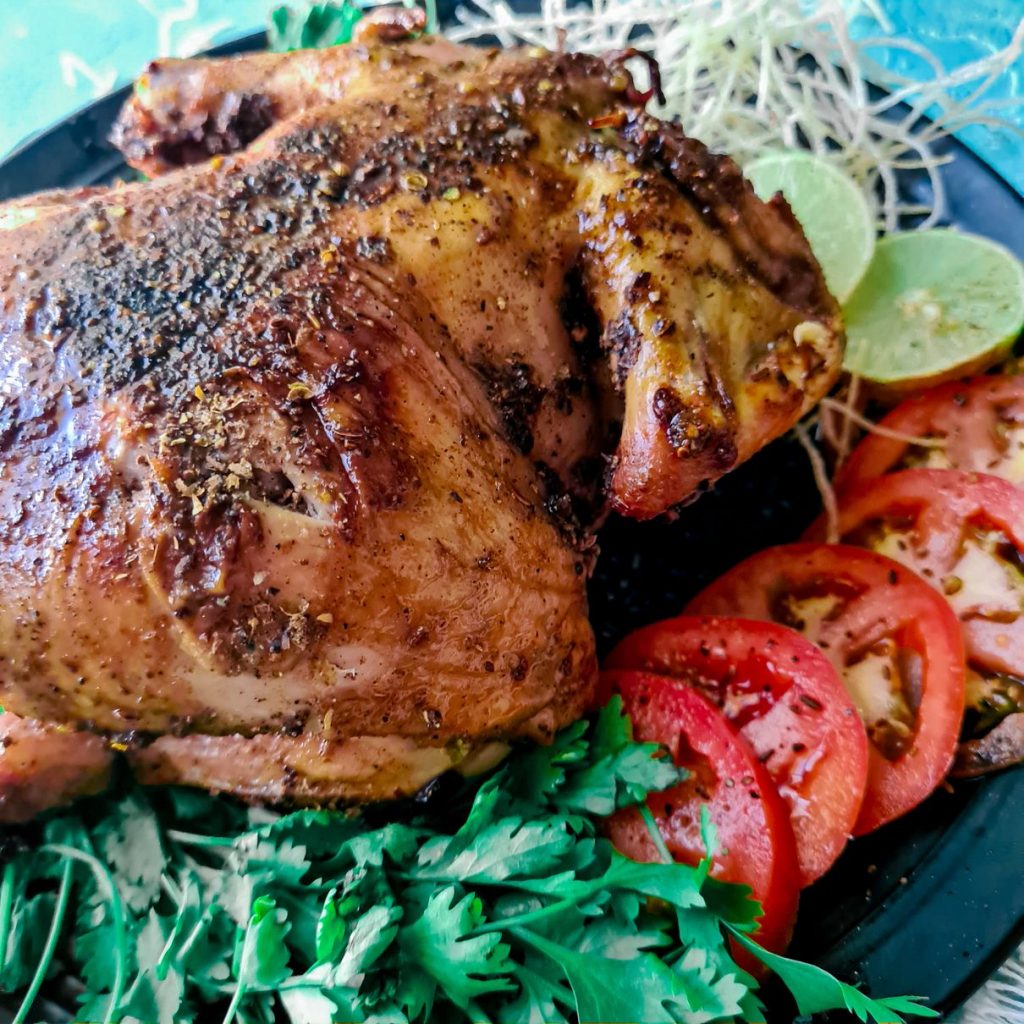
And even though, conventionally Sajji is made in an open fire, you can still make a kickass sajji in your own homes! All you need is an oven, some marinade and the will to make it! In this post I am going to tackle Chicken Sajji, and hopefully put up a post for lamb sajji soon!
How to make Chicken Sajji
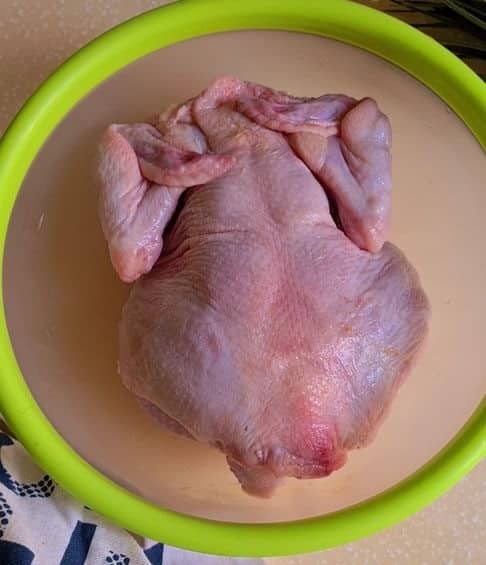
Selecting the chicken for the best Sajji
For making the perfect Balochi Sajji, use chicken with skin on, with no cuts. I CANNOT EMPHASIZE this part ENOUGH! skin on my friend! SKIN ON! It will make the WORLD of a difference and give you the REAL authentic taste of a chicken Sajji. And here’s why
Traditional Balochi Sajji is made on open fire right, for which an equivalent would be a slow roasted chicken in the oven. The skin will help to keep the juices of the chicken intact. A crispy outer skin and a soft and juicy meat on the inside is characteristic of a good sajji, which will only happen if you have the skin on.
If, for some dietary reasons, you are going to use chicken without skin, you’ll need to add cuts to the chicken along its length and on thighs, like you would do for a Lahori chargha. But other than that, IF there ISN’T a gun pointing to your head, you better get the chicken with skin on (I will mention cooking methods for both kinds of chicken)
Step 2 – Brining the Chicken
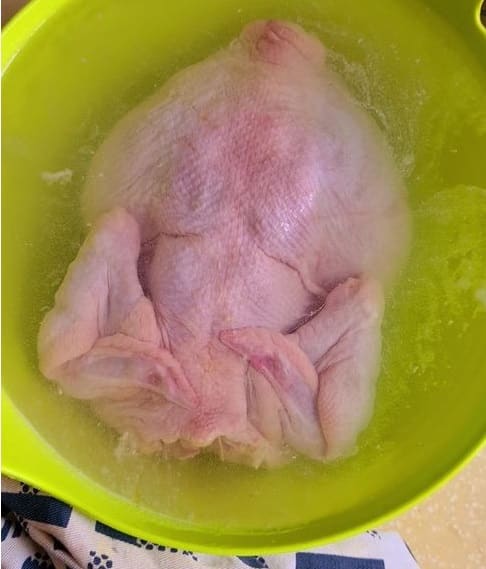
Clean your chicken thoroughly, making sure you clean the cavity of any blood etc. Use your hand or a toothbrush to clean the cavity properly. I DO NOT want you to skip this step. (imagine me with crazy eyes while I say this) Take the time and just do it! Brining adds moisture and salt to the chicken. To make this brine I used salt, vinegar and enough ice cold water to submerge the chicken completely. Make sure all your salt is dissolved in the water. You don’t need to add other spices at this point, because we are going to add that later on.
Why are we brining the chicken?
Brining ensures that your chicken will take up water and salt from your water bath and become super juicy and succulent. It also adds flavor to the flesh of the chicken because of the salt. It prevents your chicken from drying out when it is being slow roasted in the oven. The vinegar in this brine gets rid of any raw chicken smell and left over blood. Using cold water for brining helps to keep your chicken meat stay intact and avoids bacteria propagation.
How long should you brine for?
Ideally, a minimum of 5 hours of brining is needed for a whole chicken. For this sajji, brining time would be A whole chicken less than or equal to 1 kg – 8 to 12 hours or overnightChicken for above 1 kg – 12 to 18 hrs.
Step 3 – Making the Sajji masala or Spice mix
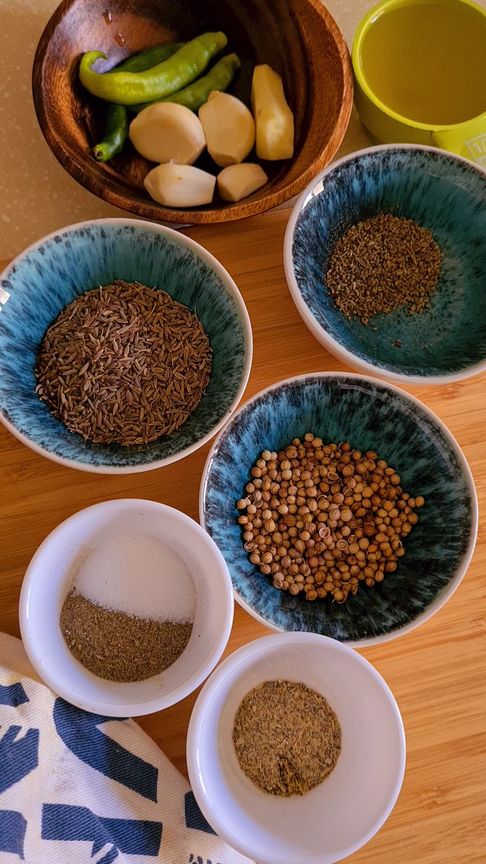
For the spice rub, we will need the ingredients shown above. You can also use packet Sajji masala if it is available in your region.
Start by dry roasting the seeds: Carom seeds (ajwain), Cumin seeds (zeera) and coriander seeds (sabit dhaniya). And then grind it coarsely. Then mix all the other dry ingredients in this seed mix: Salt, black pepper and cardamom powder (elaichi powder). This is your Sajji masala. We will use half of this masala for marination and reserve the other half to sprinkle on top once the chicken is cooked. Make a paste of lemon juice, green chilies, garlic ginger. Then add half of your spice mix to it. Your marinade is ready.
Step 4 – Marinating the chicken
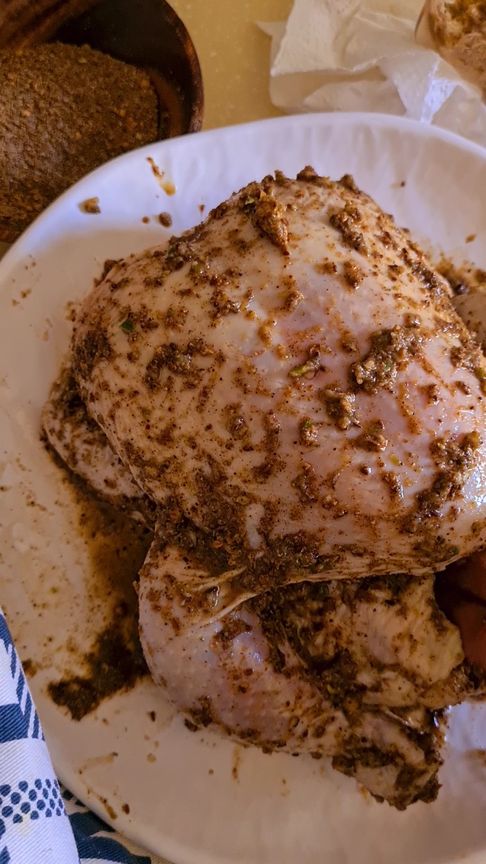
Remove the chicken from your fridge and drain the brine. Rinse your chicken with COLD water inside and out. Pat your chicken down with a paper towel to absorb any moisture. Then marinate it with the spice rub we’ve made. Make sure to get all nooks and crannies and the cavity of the chicken. You don’t need to let it marinate for long. Just 15 20 mins, till the chicken comes down to room temperature.
Step 5 – Roasting the chicken
Before roasting the chicken, you need to tie your chicken properly with a kitchen thread. This is calling Trussing your chicken. Here’s a video link to show you how you can truss your chicken properly. I used the regular thick embroidery thread to do so. But you can also use dental floss or layer a regular thread 3 to 4 times to thicken it and then use.
Roasting chicken with skin
For Chicken with skin we are going to go for slow roast. You can either use a rotisserie rod to attach your chicken to for a more even color. Or bake it in a baking tray. Either ways, keep your oven temperature to about 160 Degree C (320 F). It will take roughly 40 to 50 mins for your chicken to cook. If you are baking it in a tray, flip your chicken over at the 20 to 25 min mark. (no covering the chicken or greasing the pan needed) TIP: If you decide to use your rotisserie for the Sajji, place a tray or a pan below the chicken to catch any juices that may drip from the chicken. You can even air fry it.
Roasting chicken without skin
For chicken without skin, grease a baking tray with oil and place your chicken. Cover the tray with foil and bake at 200 C (400 F) for 30 mins. Take the chicken out, remove the foil and slather some ghee or butter on the chicken. Place the chicken back in the oven and turn the top grill on for some color and bake for another 10 mins.
How to Check if the chicken is cooked properly?
The ideal way to check if the chicken is cooked, is by inserting a cooking thermometer in the thigh of the chicken. The temperature should read anywhere between 165-170 F or 75 C. If you don’t have a thermometer, you can pierce the chicken between the thigh and body and a clear juice should ooze out from the body.
Sajji is Served!
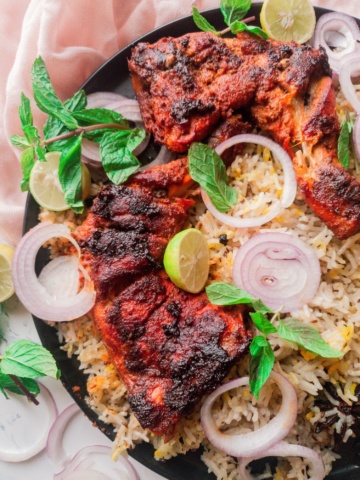
Let your chicken rest for 10 to 15 mins before cutting it open. Sprinkle some lemon juice and more sajji masala on top before serving. And dig in! Some people love Sajji with a good rice pulav, others (like me) enjoy with palak raita (spinach yogurt) and roti. and ofcourse sliced onions dipped in lemon.
More grilled/baked Chicken recipes
Do you have any questions? I’m happy to help! And of course, If you try this recipe, I’d loveeeee to see it or simply hear about it! Hit me up in the comment section below and I’ll get back to asap! Happy Cooking!
