What is Anday ka halwa?
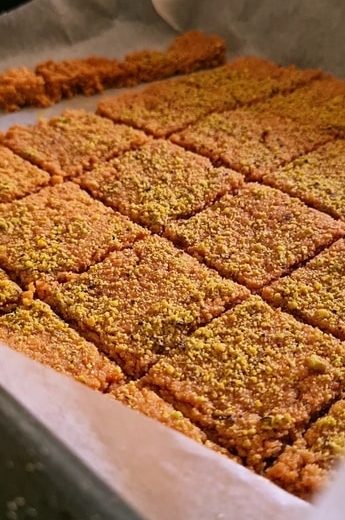
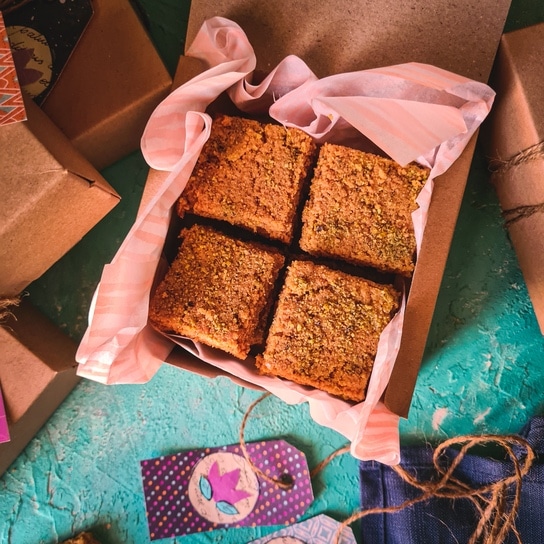
Egg halwa or anday ka halwa (where “Anday” means eggs) is a traditional Indian/Pakistani mithayi or sweet that is made using eggs and other staples. Its very popular in Biharis immigrants, and Memons (subcultures Of South Asia). The memons call them Anday ka meesu or anday ka mesub. A different version of this halwa also exist, which is soft and eaten with a spoon. This particular version is crunchy, biscuity like in texture made by compressing cooked halwa crumbs together to form bars. Which is why some people also call it as “Anday ki barfi” where barfi means something set in a bars.
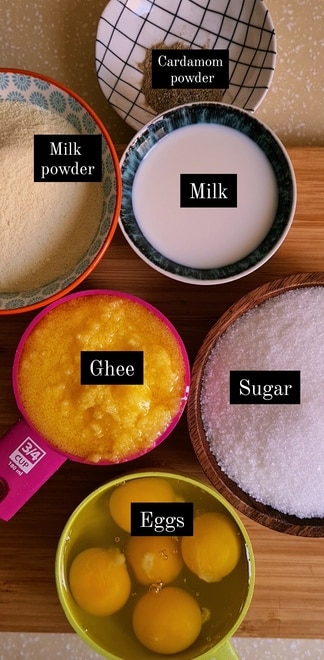
Ingredients for Egg halwa
A lot of my friends have told me that they find Anday ka halwa intimidating and they can never seem to get it right. So I’m here to simplify it for you. Half of this halwa is as good as its ingredient ratios, the other half is technique.
The ingredients for this halwa are very basic staples present in everyone’s house. There are sadly no substitution options available for this particular recipe.Always make sure that your milk powder is not expired before using it for desserts.
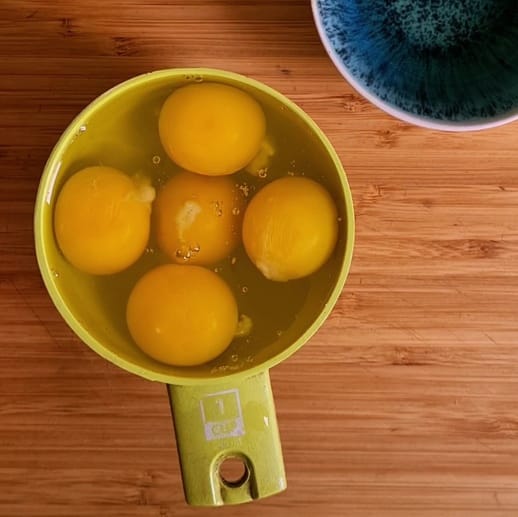
Measuring eggs
This particular recipe requires eggs to be measured in cups rather than in number. To measure eggs, break 1 egg at a time and keep adding them to a 1 cup measuring cup. Stop when your measuring cup is full. The number of eggs for 1 cup can range between 4 to 6 eggs, depending on how large or small the eggs you have are. IMPORTANT TIP: Sometimes you will need to use half an extra egg to fill up the cup to the brim. In such cases, always add the egg yolk first and then the egg white.
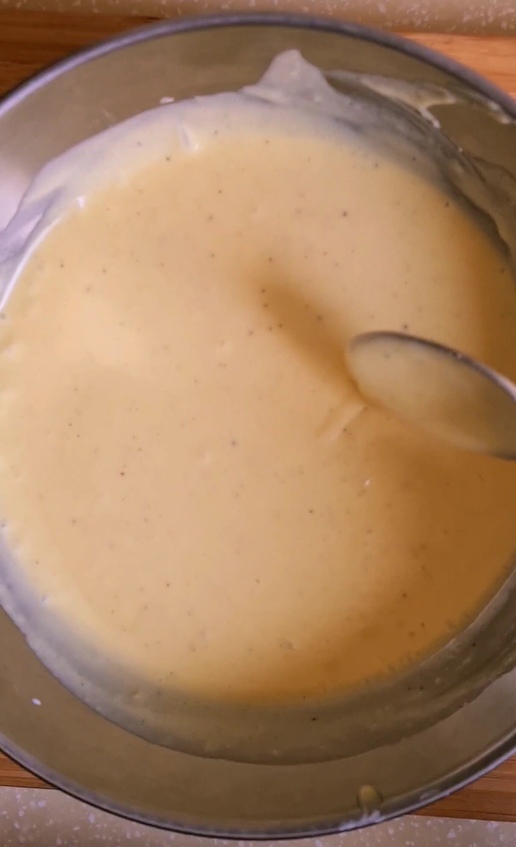
Making the halwa mix
Preparing for the halwa will take you hardly 5 mins. Dump all the ingredients in a blender and blend away to make a smooth streamless mix. OR you can dump all the ingredients in a bowl and use a hand blender as well. (Like I have in the picture below)
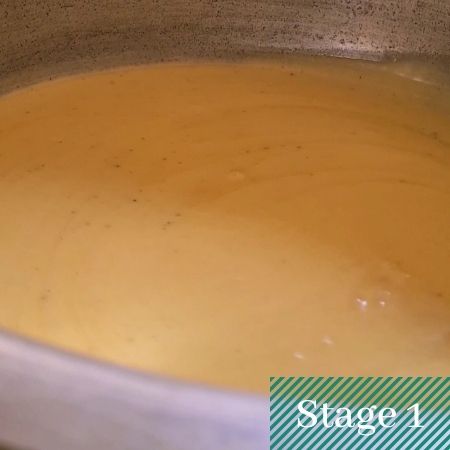
Stages of Cooking the egg halwa
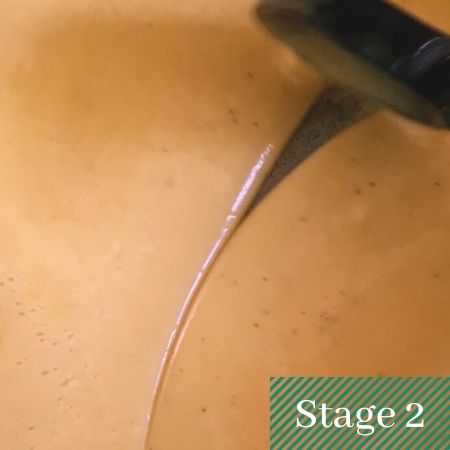
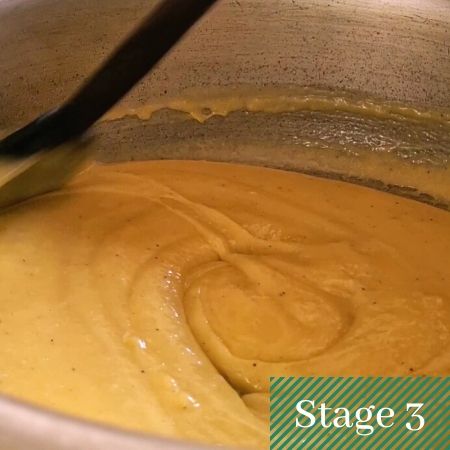
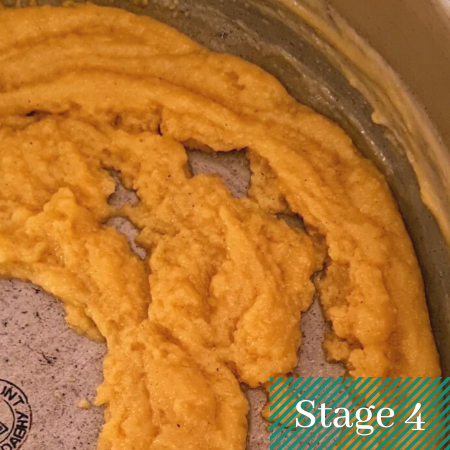
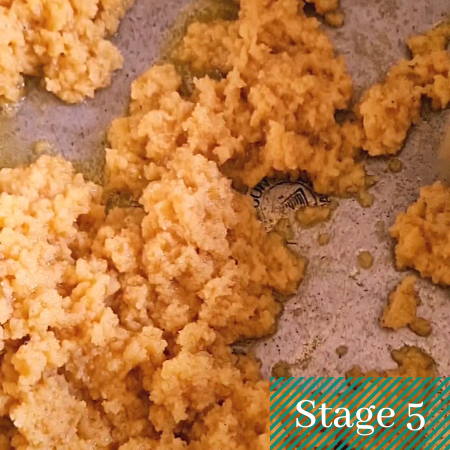
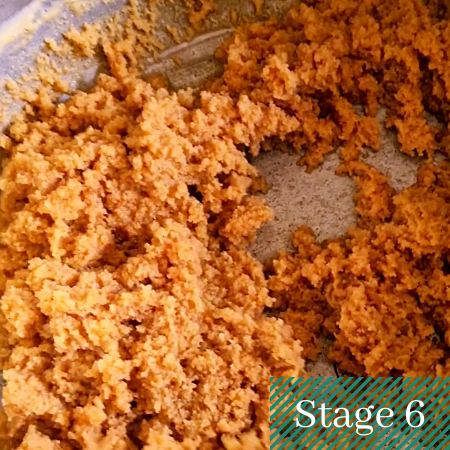
This quantity of halwa can take somewhere around 45 mins to 1 hour to cook. HOLD ON! Before you close this tab, I know the process seems long and daunting but I assure you, there’s nothing more to it then stirring and I’ll give you hacks that can help. Before you pour your halwa batter into a pot or a pan, put the pan on medium flame for a minute to heat it up. Bring the flame down to low and THEN add your halwa batter. Now all you have to do is gently stir it from time to time, making sure it doesn’t stick to the pot. Thats it. These are the stages your halwa will go through: STAGE 1 – First 10 mins – Your halwa will liquify and heat up as the sugar and ghee melts. STAGE 2 – 10 to 20 min – Your halwa will start to thicken up again as the eggs start to cook. STAGE 3 – 20 to 30 min – Your halwa will thicken up to the point that it will start to form bubbles that will pop on their own. STAGE 4 – 30 to 40 min – The ghee from your halwa will separate and it will start to appear mildly crumbly. STAGE 5 – 40 to 50 min – Your halwa will be fully crumbled, light yellow in color and will start reabsorbing the ghee STAGE 6 – 50 to 60 min – Your halwa will start to change color as it reabsorbs all the ghee. This is the final stage, your looking for a nice almond brown color. That’s when you turn off the flame.
Setting, Cutting and Cooling
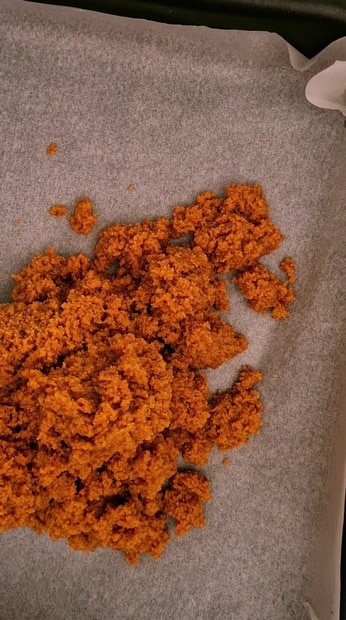
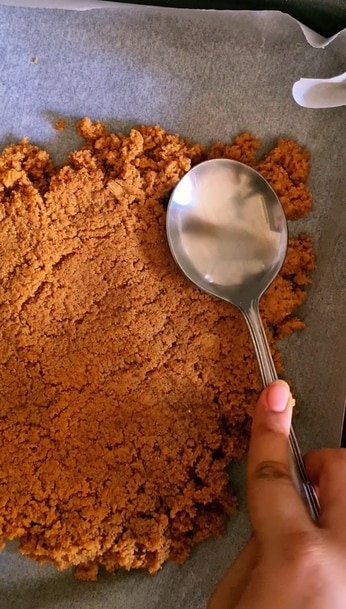
After turning off the flame, drop all the crumbs on a tray lined with butter paper and press it down with a spoon. I also use a spatula to press from the sides to create even edges. CAUTION: Don’t touch the halwa with your bare hands! It is going to be super hot! Sprinkle pistachio powder and cut in bars with a knife. After you cut them in a bar, your halwa needs to rest for another hour. I know I KNOW! I’m killing you in here! But trust me! The halwa needs to cool down properly before you eat it, otherwise it will be chewy and will stick to your teeth!
TIPS to make the best anday ka halwa
Use a wooden spoon to stir the halwaDO NOT use a non-stick or granite pot/pan to make any desi (South Asian halwas). You can use aluminum, steel, or cast iron.A heavy bottom pan will always be prefered for halwasThe wider your pot is, the quicker and easier it will be to make your halwa.Patience. This is definitely a slow-cooked dessert and you’ll need it if you want to ace this recipe.
ACTIVE vs PASSIVE COOKING
ACTIVE COOKING
If you are free and you plan on stirring your halwa gently from time to time, but pretty regularly, you can cook this halwa at medium low flame. It will be quicker to make but will need you to be stirring regularly and getting a proper arm workout. This is the method mentioned above and in the recipe card below.
PASSIVE COOKING
You can use a heat insulator like a flat griddle below the pot and let it cook at low flame. This is a passive cooking method. It will take longer to cook but you won’t have to stir constantly. You can just stir once in a while (once in every 5 mins) and keep doing your other tasks in the kitchen. The only time the halwa will need you attention will be towards the end of the cooking, at stage 5.
How to store anday ka halwa
Once your halwa cools down, store it in an airtight jar. It can sit out on your counter and can last for upto 2 months and even more so, but my halwa usually finishes within a month so I wouldn’t know.
Other Traditional Pakistani/Indian desserts
Shahi TukrayRasmalaiNo-cook Malai KulfiGajar ka halwaLab-e-Shireen
